Create professional songs from your room
Although nowadays we can find Studios where you can reserve the recording time between $30-60, not all people can afford to record in a good studio with professional equipment and trained staff. The truth is that there are more and more people who record their songs from their home studio, either to use it as a demo of their project and then record it on another place or directly to send the tracks to an engineer who mixes them. That’s why I’m going to give you some tips so you can record your voice at home and get good shots with professional quality.
What do you need to record your voice?
The first thing you have to think about is the budget you have to spend. Therefore, I am going to give you 2 different budget examples to help you to make a faster decision, but first we will see some common mistakes when choosing the equipment.
• Buy everything as cheap as possible because the one in the store has told you that with that equipment you have enough to start. I know from experience that when you do this, in a year or even less you will need better equipment because you will want more quality, so you will end up buying 2 or 3 times.
• Buy the most expensive because you want to sound professional. It is not necessary to buy the best to sound with professional quality, you can get the same quality with cheaper equipment.
• Spend a lot of money on one thing and the rest cheaper. If you spend a lot of money on a microphone but you have a very cheap preamp, you will only get the so-called bottleneck effect. That expensive mic will not sound 100% of its quality because the preamp or the audio interface will reduce its performance.
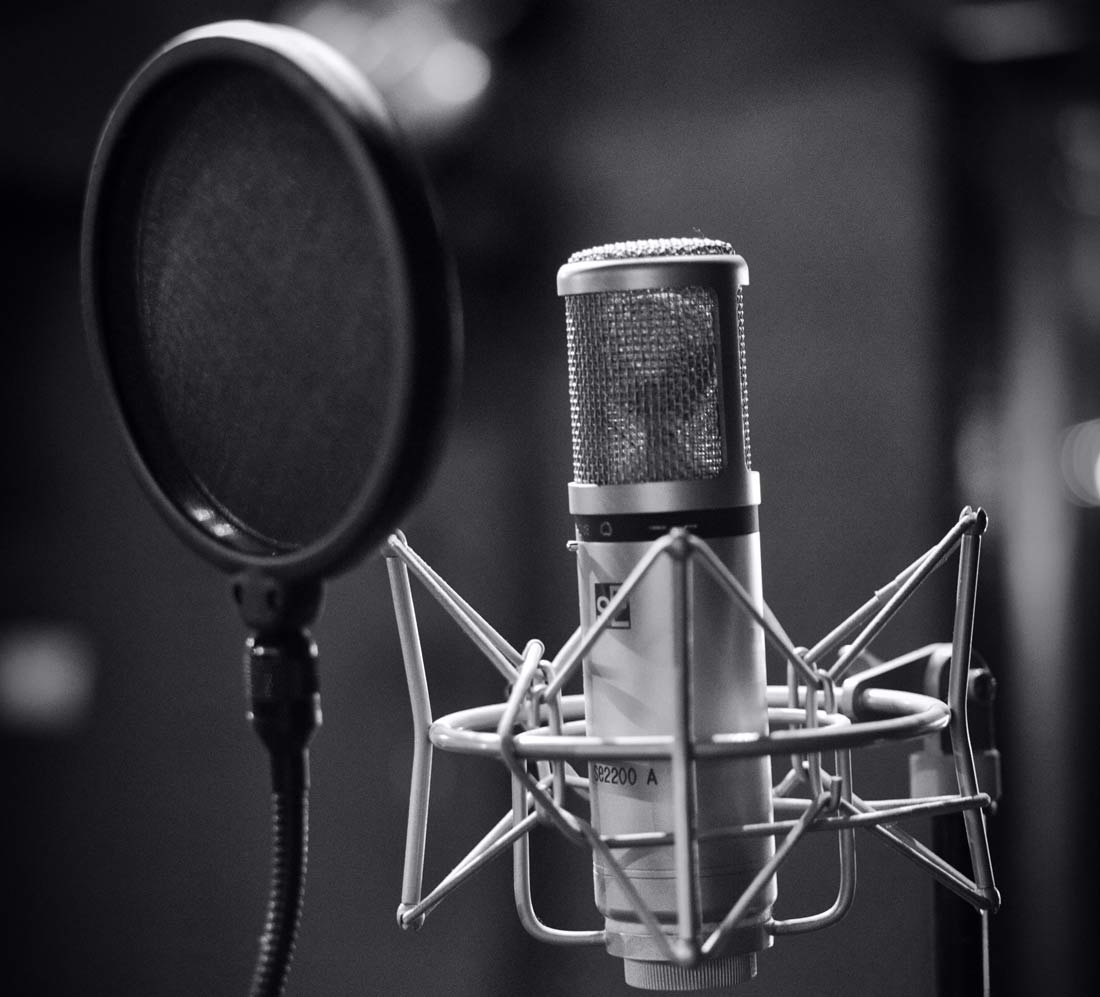
• Buy equipment and not treat acoustics. For me, acoustics is the first thing you should correct when you are thinking about recording. Something I recommend is to get an anti-reflection filter, but regardless of the filter, there are areas of your room that you´ll have to remove to avoid ugly resonances and reverberations in the recording.
We go with the two examples of equipment that I have selected for you. With both of them you will get professional quality and you will not need to improve that equipment in many years, probably never.
You need to have a computer capable of running smoothly with the daw that you are going to use to record, with all the ram you can afford. At least 16 GB of ram and a good processor to make everything flow smoothly.

Equipment budget for recording in amateur home studio ($700).
1. Audio interface: Focusrite Scarlett Solo 3rd Gen ($120 approx). It is the 3rd generation of a card that has become a best seller, USB-C connection, 1 micro input, 1 line / instrument input and 24 Bit / 192 Khz quality. See product
2. Microphone: Akg C214 ($300 approx.). It is a micro SUV with which you can get very good quality in vocal recordings, I used it for years and I can assure you that it is a beast. See product
3. Headphones: Sennheiser HD-280 Pro ($100 approx.). Closed headphones of very good quality, ideal for recording since they have an attenuation level of 32 db, which is not bad. See product
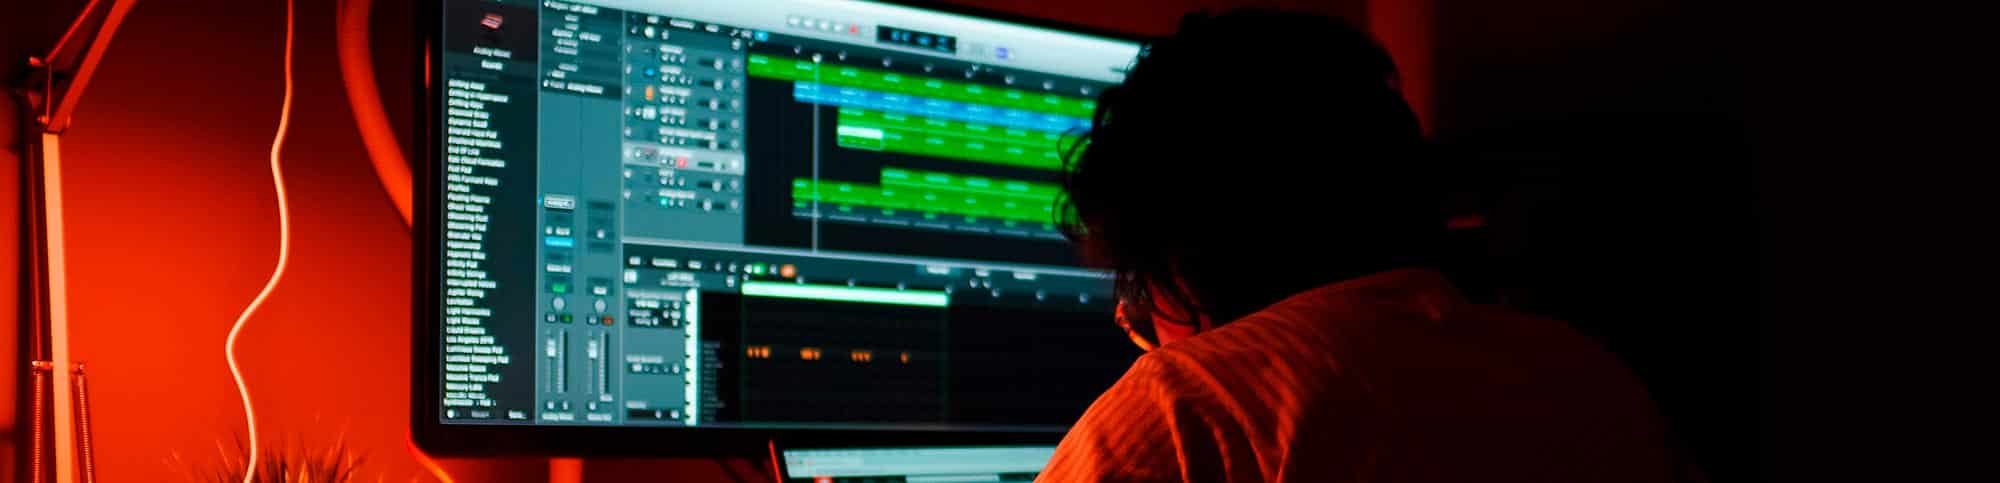
4. Daw: It is the program that you will use to record your voice, add effects, mix … etc. The most used are Cubase, Logic pro x and Ableton Live. All these brands have versions for beginners that can be purchased for about $100 and more professional versions somewhat more expensive. For now I recommend you try versions for beginners because you will always have time to improve your software.
5. Anti-reflection filter: SE Electronics Reflexion filter X ($80 approx.). If you want to make recordings in your home studio and you do not plan to make a voice recording booth, an anti-reflection filter is a mandatory purchase and will help you a lot to get very good quality recording shots. See product
Equipment budget for medium-high quality recording. ($2460 + Daw to choose).
1. Audio interface: Universal Audio Apollo Twin MkII Duo ($850 approx). It is an audio interface that is a real delight. It supports the UAD audio plugins that are also processed in the DSP of the card, so it does not consume computer core performance. I use the first version and I can not be more happy with her. See product
2. Microphone Preamp: In this aspect I could recommend some hardware type such as UA LA 610 MKII ($1850 approx.) or one less known but with incredible quality such as the SPL Electronics Frontliner Channel Strip ($1800 approx.). But I recommend that if you have a card like Apollo, you take advantage of its full potential by acquiring a previous software with UAD Unison technology (the best plugin previews in the world), and I especially recommend the Manley Voxbox Channel Strip ($300 approx. although you can get it at a better price on offer dates), it is a recording channel – previous with impressive quality that in its hardware version can cost you almost $2200 and sounds luxurious. See product
2. Microphone: Neumann TLM 103 ($950 approx.). Although sometimes we do not have to look at the brand of something to know if it is good, Neumann is synonymous with quality, and this micro is a classic in many studies today cause it has incredible clarity. See product
3. Headphones: Sennheiser HD-300 Pro ($170 approx.). Closed headphones of very good quality, ideal for recording and they are also very comfortable. See product
4. Daw: It is the program that you will use to record your voice, add effects, mix … etc. The most used are Cubase, Logic pro x and Ableton Live. The price depends on each brand, Cubase Pro around $500, Logic $229 (Mac only) and Ableton Suite $599.
5. Anti-reflection filter: SE Electronics Reflexion filter Pro ($190 approx.). If you want to make recordings in your home studio and you do not plan to make a voice recording booth, an anti-reflection filter is a mandatory purchase and will help you a lot to get very good quality recording shots. See product
How to get better recordings.
You already have the equipment, but not because of having the best mic and the best preview you will sound better than anyone. It is one of the things I like most about music, when I see someone with few media that achieves great results. That is why there are some aspects to consider when recording that can greatly improve your results.
1. Record the best shot in the shortest possible time. After many years of recording different artists in my studio, I can assure you that when they try again and again to record the same shot, they lose concentration and freshness.
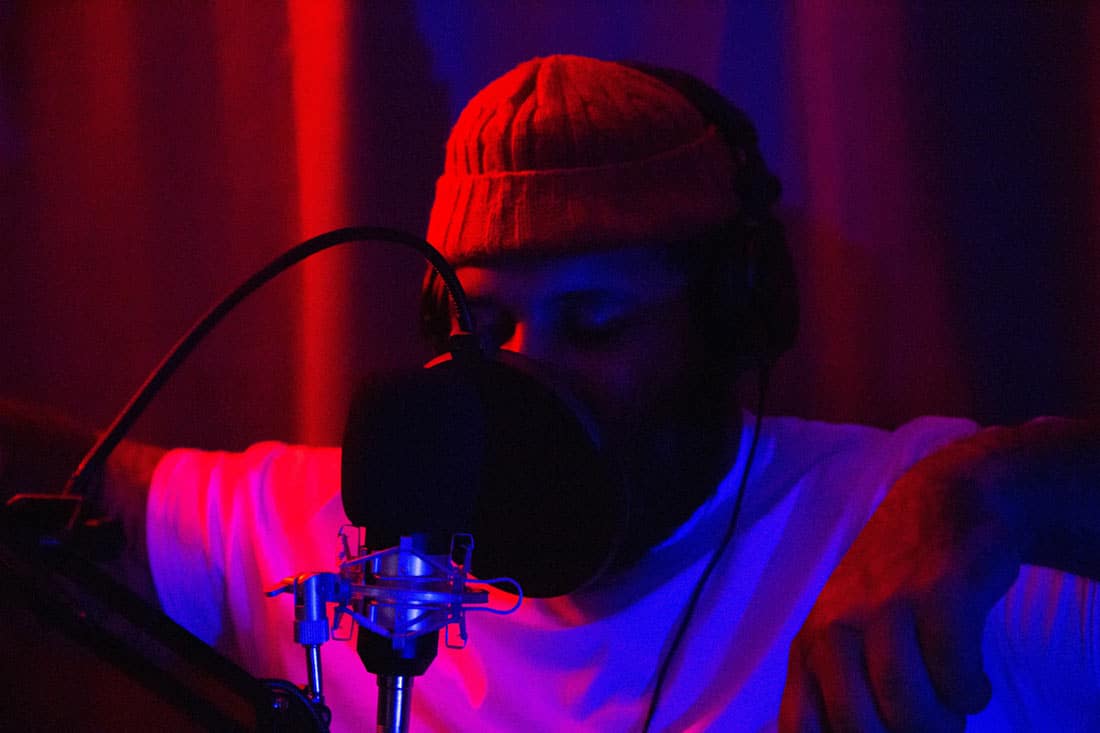
2. Maintain an adequate distance with the microphone. About 15 cm is usually a good distance. If you get closer there may be a proximity effect that can make what you say difficult to understand well and if you move too far the signal will be more affected by the lacks of the room.
3. Use an anti-pop filter. Large diaphragm microphones often exaggerate the “P” and “B” so using this type of filter helps to reduce that ugly effect of the recordings. It also works very well to calculate the distance with the microphone: separate it 10 cm of the micro and leave about 5 or 7 cm between your mouth and the filter.
4. Use an anti-reflection filter. This is very important, especially if you are not recording in a recording box. If you want to record in the same room where you have the computer, no problem, even Dr. Dre prefers to do so with the artists he records with (although of course he has a box of many thousands of dollars). What they do is isolating the micro from annoying noises and reflections produced by the rooms. They have different positions to place the micro and get more or less dry voices according to your taste.
5. If you are thinking of adding some effect, I only advise you to use compression when recording. This is something more personal in my way of working. I do not usually equalize the voice, or put de-essers, or add any other effect that is not compression. I prefer to do it in the mixing phase cause you will avoid having to repeat recordings when you make a mistake by equalizing or reducing the “S” too much if you don’t have enough experience. Also when compressing you should try to reduce from 2 to 3 db at most, just to try to get a more uniform volume.
6. When you record try the voice never exceed -9 dbs. Leave enough headroom so that your voice can be treated by the person who is going to mix it and have enough space to work. When you record at a volume of -2 or -3 db the voice will sound very saturated. Also do not record very low because raising the gain of the voice will also rise unwanted sounds.
7. If you are going to record several songs the same day, be sure to take a few breaks between songs, because the voice can be affected and the last shots will not be like the first ones.
8. Do not record the entire song on a single track, take several main shots and add secondary tracks. Later I will explain how many tracks to record to take advantage of the vocal part.
9. Learn to breathe well between words. The breaths can always be worked in the mixing part but the better the main voice is, the more natural everything will sound.
10. Do not record thinking that a bad shot will be fixed in the mix. Think about recording your best and give it an improvement point when mixing.
11. Rehearse before recording and learn the lyrics. If you want to flow over the song you have to go for it for sure. If you are going to be reading a paper while recording you will forget the interpretation.
12. Write the letter on paper and underline where you want to put chorus, where you want to breathe, where to leave gaps to reinforce with a secondary voice, where you will put a scream, a laugh, etc. This will help you to finish the recording before and avoid long pauses that will only make you cool. You have to prepare a recording structure and be prepared.
13. Never edit any tracks until everything is recorded. In the end you can touch up what you need, but now you are in front of the mic and that time is sacred.
14. The environment is very important. If you are going to record a song with a lot of feeling and you want it to sound very intimate, leave only a small light on. It seems silly but these things can make you manage to convey in a brutal way the feeling you had when writing the song.
15. Mood influences messing. If you want to record a song talking about your mother’s love, you can’t go on recording if you just argued with your girlfriend cause then you will not be able to convey to the listener what you really wanted to convey. It is better to clear things up and it is also not a bad idea to have a picture of your mother in front of you while you are recording.
16. As nowadays we do not separate from the Mobile Phone at all, be sure to put it in airplane mode at the time of recording if you do not want to take surprises when you have achieved a perfect shot.
As you can see, there are many things that seem silly but have a very great importance in the final result.
How many shots do you need to record?
This part depends a lot on the way each artist works. I am going to advise you according to the experience I have and how I get the songs I mix to sound as I want. It is a scheme that I usually give to the artists who send me their songs to mix, both for the voice of the verses and for the chorus. The best way not to lose concentration by recording is to be clear about what you should record for sure, a plan, and then once recorded add all the extra that the body asks for.
Voice tracks in the verses.
1. Lead voice or main voice. On this track you would record the main voice of the verse.
2. Voice reinforcement. It is a secondary track, very similar to the main track but reinforcing certain parts of the verse. Here it is not worth duplicating the main voice, they have to be different shots.
3. Voice L. It is a track where we highlight parts of the verse with more emotion and that will sound on the left side of the stereo field.+
4. Voice R. Like the voice L, in the same parts of the verse but it will sound on the right side, it is not worth doubling the voice, they have to be different shots.
5. Extra Voices. On this track we record the ohh, praaa, shuuu, laughs … etc.
VOICE TRACKS ON THE HOOK
We are going to record the same tracks as in the verse but we add:
1. Voice L extra, where we record the same shot as the main voice but singing more serious or more acute and will sound from the left side but less opened than the voice L.
2. Extra R voice, where we record the same shot as the main voice but singing more serious or more acute and will sound on the right side but less opened than the R voice.
With these 2 extra clues we managed to give the chorus a point of strength to make it stand out. I also recommend recording the intro and outro also separately to have a better structured recording. This is a base so that you don’t go crazy recording 3 equal main vocals for example, or you find yourself at the end of the recording with 20-30 tracks without knowing which one you will end up using. It is so bad to record few tracks as to record too many. There are artists who work differently but according to my experience this scheme is a good starting point. With it you will improve according to your tastes.
How to export the tracks for the mixing step.
Once you have finished the recording, the best thing you can do if you want to get a professional quality in your song is to send the tracks to a qualified person, and I am not talking about the friend who can manage himself mixing, I talk about people with experience who know how to give a plus quality to your song, because a poorly mixed song is not going to be heard. You can be very good but if you don’t sound good directly you don’t sound. I know many people who even knowing how to mix, prefer that another person mix the song because that person will listen to the tracks with another point of view, and will see more easily where to improve the tracks.
Finally, export each track separately with 24-bit wav quality without any added effect. In one folder put the files of the verse and in another one put those of the hook.
Thank you very much for reading this far. As a thank you, I have created an offer for you at this LINK
I hope I helped you to make clearer how to get some voices with very good quality and everything that influences this process. If you have any questions, I am happy to help you. You can contact me in my email info@gradozerobeats.com.
Gradozero Beats.